Weave tutorial
How to make a Byzantine bracelet
The chunky two-tone rope chain — the most-made chainmaille bracelet there is. Two pliers, one ring size, about an hour.
- Weave
- Byzantine
- Time
- About an hour once the rings are open
- Minimum aspect ratio
- 3.31
- Difficulty
- First project. If you can open and close a ring, you can do this.
Byzantine is the weave most people mean when they say "chainmaille bracelet" — a dense rope that looks knotted and sits heavy on the wrist. It is built from one ring size only, which is why it is the right first project: nothing to measure, nothing to match. Two colours alternating is the classic look, and it is the same weave either way.
Rings that will tie it
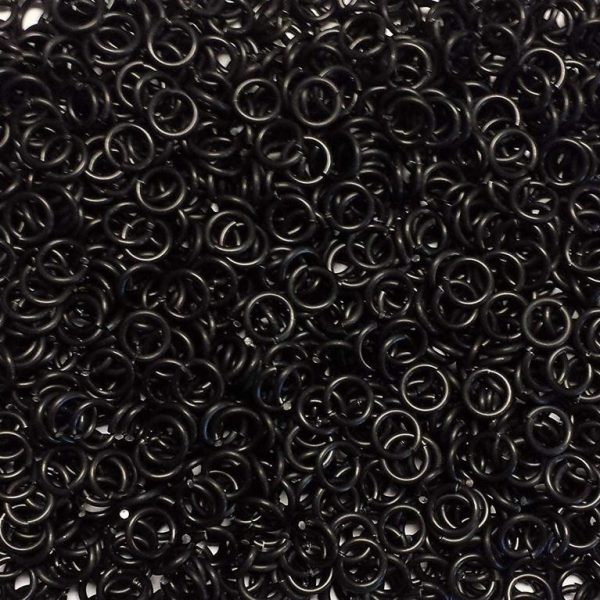
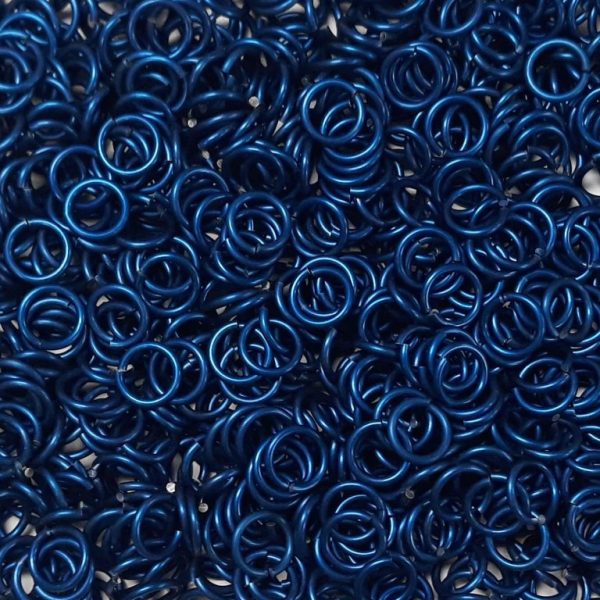
Byzantine needs an aspect ratio of at least 3.31 — below that the rings physically cannot make the fold. These are the ones we stock that clear it. One 1 oz pack is more than a bracelet needs.


The weave, step by step
-
Open half your rings, close the other half
Grip a ring with a plier either side of the join and twist one hand toward you, one away — a sideways shear, never pulling the ends apart. Pulling outward splays the ring and it will never close cleanly again. Closing is the same motion reversed until the ends catch with a faint click and you cannot feel the seam with a fingernail.
-
Build a 2-2-2 chain
Thread two closed rings onto an open ring and close it, then add a second ring alongside it through the same pair. You now have a pair joined to a pair. Add one more pair the same way. Six rings, three pairs — that is your starting unit, and every Byzantine segment is built off it.
-
Fold the end pair back
Hold the chain vertical by the middle pair and let the top pair hang. Take those two top rings and fold them down and outward — one to the left, one to the right — so they flip back over the middle pair and lie against it. They will want to spring; hold them there with a fingertip.
-
Find the two eyes
With the pair folded back, look straight down into the end of the chain. Between the folded rings you will see two small openings sitting side by side. Those are the eyes, and they are the whole trick — everything else is repetition. If you cannot see two clear eyes, the fold has not gone far enough back.
-
Pass a new ring through both eyes
Slide an open ring through both eyes at once and close it. Add a second ring following exactly the same path. That new pair locks the fold in place, and the segment is finished — you will feel it stop trying to spring apart.
-
Add a pair and repeat
Add one more pair onto the pair you just placed. You are back to a 2-2-2 end, which means you are back at step three. Repeat until the chain reaches around your wrist with about half an inch to spare for the clasp.
-
Fit the clasp
Open one ring, thread it through the end pair and through the clasp, and close it. Do the same at the other end with a jump ring or a split ring. Check every single ring along the bracelet with a fingernail before you call it done — one ring left open is the one that will let go.
Things that save you an hour
- Two pliers with smooth flat jaws. Anything with teeth will chew marks into anodised aluminium on the first squeeze.
- Work over a tray or a towel. Dropped rings travel further than seems physically reasonable.
- If a segment will not lock, the fold has sprung back — undo one ring, re-fold harder, and try again. It is almost never the ring size.
- Alternating two colours makes the structure far easier to read while you are learning, because you can see which rings belong to which pair.
Written instructions only, for now — step photography and looping animations are being made, and this page will carry them when they exist rather than borrowing someone else’s.