Chainmail tools
The tools you need to make chainmail, from two pairs of flat nose pliers to flush cutters, mandrels and calipers, with what to look for in each and what is not worth buying.
Home / Guides / Tools and metals
This guide has affiliate links. If you buy through them we earn a commission at no cost to you. How this works.
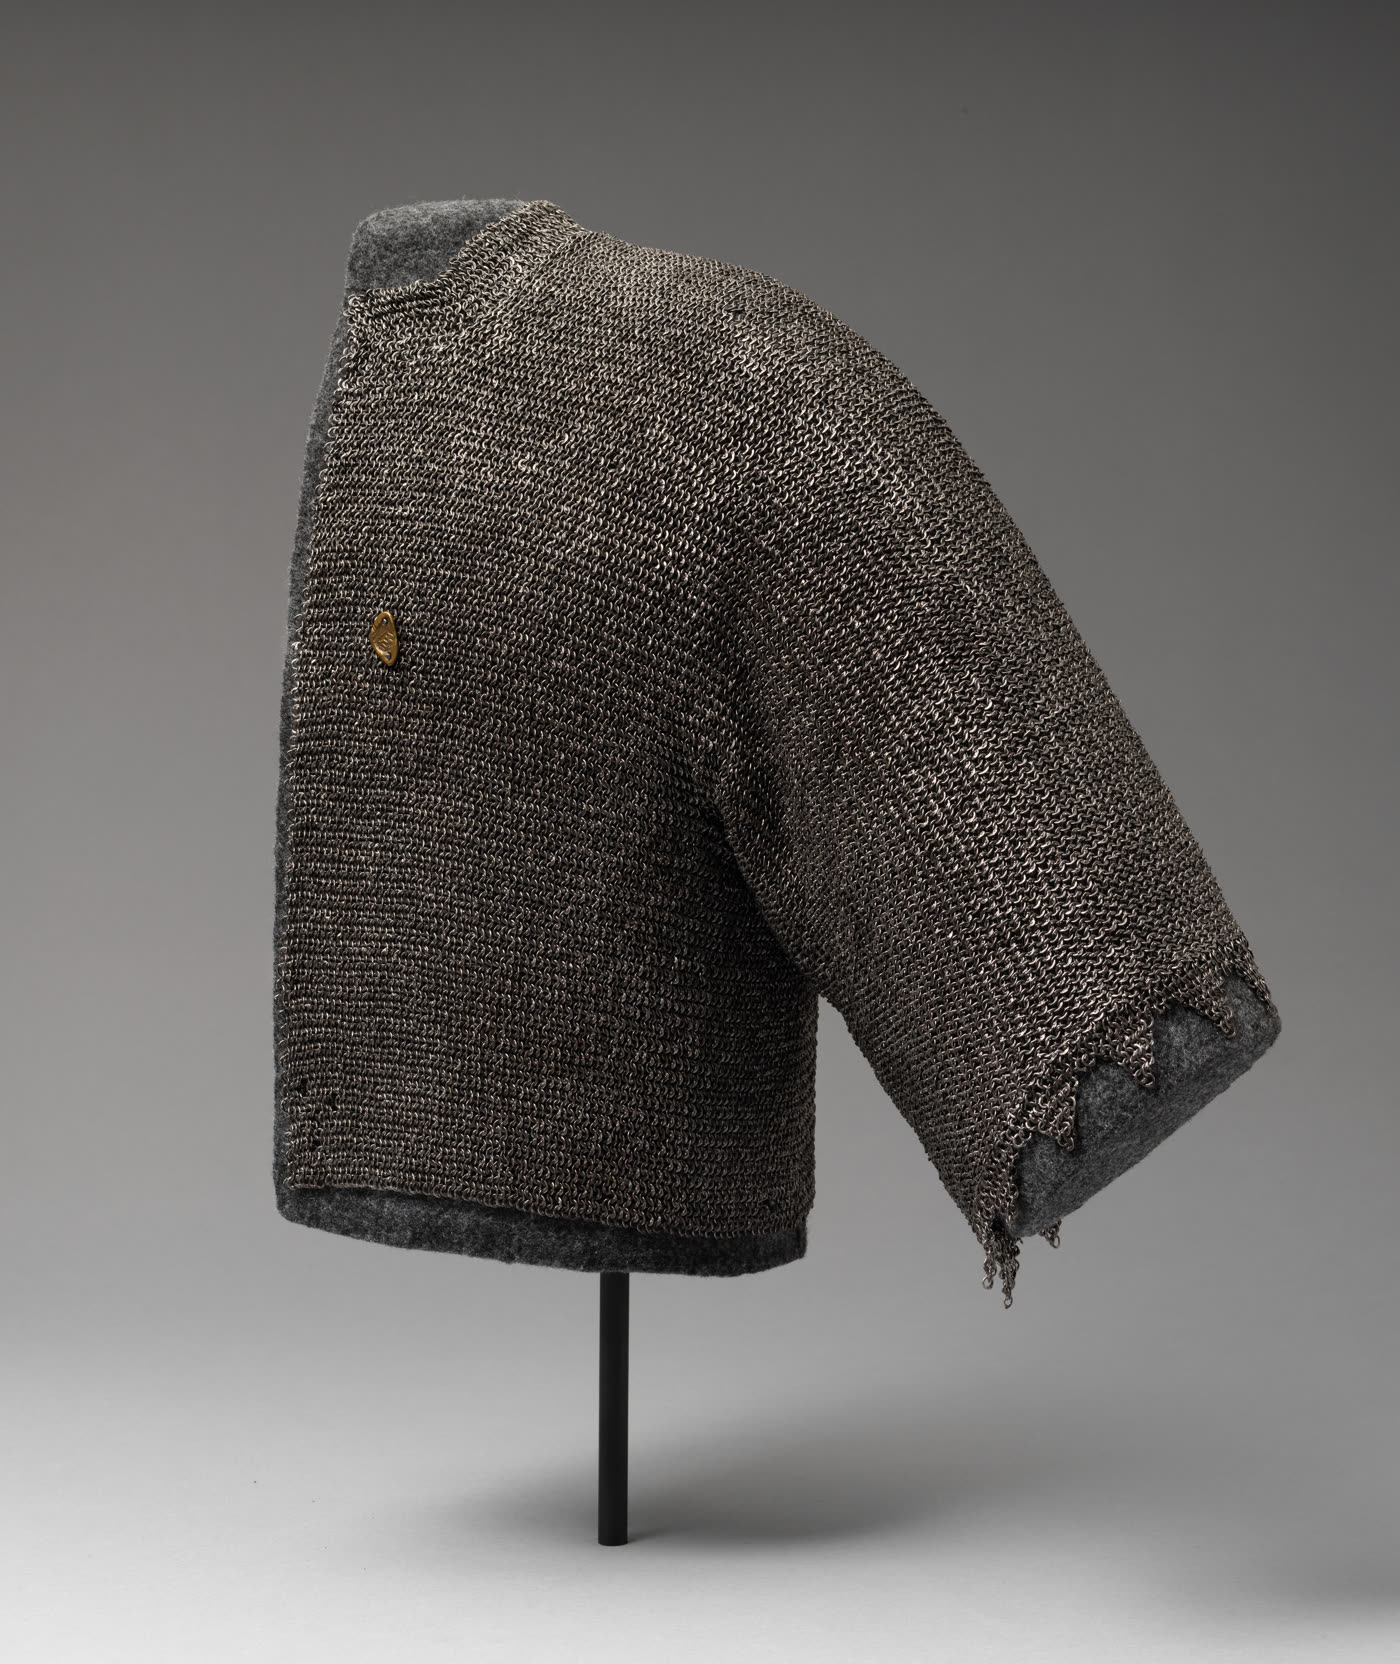
You can start making chainmail with two pairs of pliers. Everything else saves time or improves accuracy but is optional at the start. This guide covers the tools in the order you are likely to need them. Links go to Amazon search pages and earn a commission if you buy; see the affiliate disclosure.
Two pairs of flat nose pliers
This is the essential tool. You hold one ring in each pair and twist them apart and together. What matters is the jaws.
- Smooth, flat inner faces. Serrated jaws scratch aluminum and leave dents in the wire that later become weak points.
- Jaws that meet cleanly with no gap. Close them on a piece of paper to check.
- A width that suits your ring size. For 1/4 inch rings, jaws about 4 to 5 mm wide at the tip are comfortable.
- Comfortable handles. You will spend hours with them. Padded or dipped handles reduce fatigue.
Both pairs should match. Mismatched pliers twist rings unevenly. Look at flat nose jewellery pliers with smooth jaws, and buy two identical pairs. Bent chain nose pliers are a useful third pair for tight spaces but not required.
Flush cutters
Needed only if you make your own rings or trim wire. A flush cutter leaves one side flat, so ring ends meet cleanly. Look for flush cutters rated for hard wire if you plan to cut steel or stainless. Cutters for soft wire only will chip when used on spring steel, and most manufacturers say so on the package.
Mandrels and a winding handle
A mandrel is a round rod you coil wire around to set the inside diameter. Steel rods or drill bits work fine for a few dozen rings. If you plan to make rings regularly, a mandrel set with a crank saves time. See how to make chainmail rings for the method.
A caliper
A digital caliper is the best small purchase you can make. It measures wire diameter and ring inside diameter and gives you aspect ratio. Checking a batch of rings takes seconds, and it settles disputes about whether a ring is SWG or AWG. A plastic caliper is enough for hobby work. Metal ones last longer.
A jig for repetitive work
Jigs hold rings in position so you can assemble a weave without holding it all in your fingers. They are most useful for Byzantine and for large flat sheets. They cost little and are worth trying after you have made a few pieces by hand.
Work surface and light
A mat with a contrasting colour, such as a dark cloth under silver rings, makes work much easier. Good light matters more than any tool at small ring sizes. A clip-on lamp, plus magnifying glasses for fine work, will save your eyes.
Gloves for steel wire
If you are cutting or coiling steel, wear cut-resistant gloves. A snapped end or a cut coil can slice a finger. See the glove size chart for fit.
What you can skip
- Specialised chainmail pliers with moulded jaws. Good, but not required.
- Ring-making machines. Only worth it if you make thousands.
- Large tool kits. They often include tools you will never use. Buy individual items you need.
A starting kit in order
- Two smooth-jaw flat nose pliers.
- A digital caliper.
- A dish for open rings and a dish for closed rings.
- Rings, or wire plus flush cutters and a mandrel, depending on how you want to start.
If you want a ready-made option, see the kit buying guide.
Questions
Can I use needle nose pliers?
They work for some tasks but the round jaws make it harder to twist rings flat. Flat nose pliers are better.
Do I need special pliers for aluminum?
No, but smooth jaws help. Aluminum marks easily, so serrated jaws leave scars.
What is the most common beginner mistake with tools?
Using one pair of pliers and fingers instead of two pairs. Two matched pairs make opening and closing rings controlled and repeatable.